Hello folks, Welcome to another guide by wpbasics.org. In today's guide, we're going to show you how to download, install, and configure FileZilla.
About FileZilla
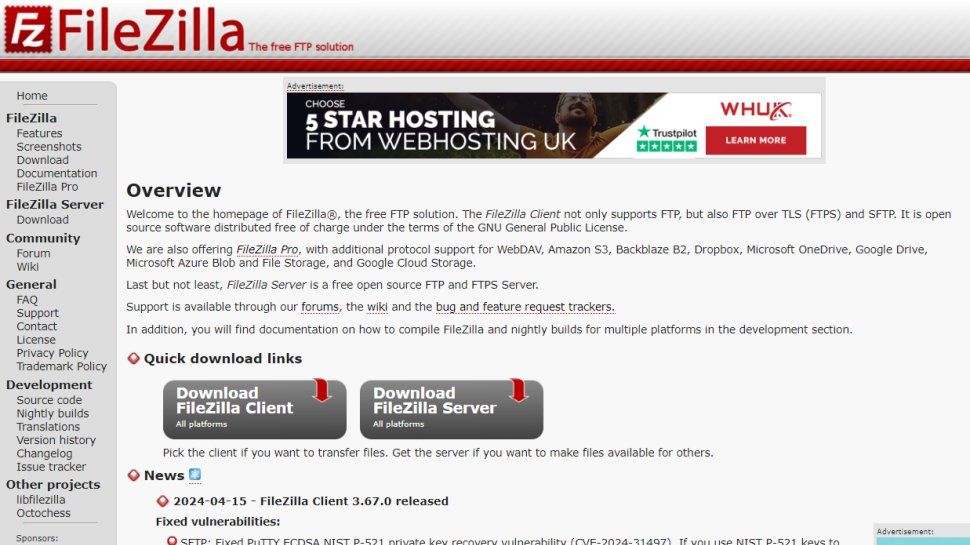
FileZilla is a popular, free, and open-source FTP solution. It's a cross-platform client, meaning it works on Windows, Linux, and macOS, allowing users to easily transfer files to and from their web servers using various protocols like FTP, FTPS, and SFTP. It's designed to be easy to use while offering powerful features for managing website files and is available completely free of charge.
Key Features
- Support for FTP, FTP over SSL/TLS (FTPS), and SSH File Transfer Protocol (SFTP)
- Cross-platform compatibility (Windows, macOS, Linux)
- IPv6 support
- Resume and transfer capabilities for large files (over 4GB)
- User-friendly tabbed interface
- Powerful Site Manager for storing connection details for multiple servers
- Transfer queue for managing uploads and downloads
- Drag & drop support for easy file transfers
- Configurable transfer speed limits
- Filename filtering and directory comparison
- Remote file editing capabilities
- Synchronized directory browsing
- Network configuration wizard
Pros and Cons
Pros:
- ✅ Completely free and open-source software
- ✅ Runs seamlessly on Windows, macOS, and Linux
- ✅ Supports secure transfer protocols (FTPS/SFTP) crucial for data protection
- ✅ Robust Site Manager simplifies handling multiple website connections
- ✅ Generally reliable and efficient for various file transfer tasks
- ✅ Supports large file transfers and resuming interrupted transfers
Cons:
- ❌ The Windows installer may bundle optional third-party software offers (users should pay attention during setup to decline these)
- ❌ The user interface, while functional, might look slightly dated compared to modern applications
- ❌ Beginners might initially find the dual-pane layout and numerous options a bit overwhelming
Download and Installation
Step 1: Downloading FileZilla
Go to your web browser and search for FileZilla. Click on the first official search result, which should lead to the FileZilla project website. Click on the prominent "Download FileZilla Client" button. This will take you to a screen where you can select the version that you want to download, appropriate for your operating system. For example, select the Windows 64bit version if you are using a 64-bit Windows OS. Save the file to your desktop or somewhere that will be easy to locate.
Step 2: Installing FileZilla
Locate your saved installer file and double-click it to start the installation of FileZilla. You will be presented with the standard terms and conditions. Read them if you want and click "I Agree" to proceed. Then click "Next". You may be presented with an optional offer for some product; it is usually advisable to not accept it by carefully selecting the decline option. Click "Next". You will then be presented with a few more options regarding installation type and components. Just follow the prompts, generally accepting the defaults by clicking "Next", until FileZilla is installed.
Configuration
Step 3: Setting Up a Site Connection
Once installed, launch FileZilla. Click on "File" in the top menu and then select "Site Manager". In the Site Manager window, go ahead and click on the "New Site" button. Enter a name for your site connection – it can be anything descriptive, like your website's domain name.
Ensure the "General" tab is selected. Next to the "Host" field, go ahead and enter your domain name (e.g., yourdomain.com) or your server's IP address. In the "Port" field, enter the port suggested by your host. You can get this information from them; it's often 21 for FTP/FTPS or 22 for SFTP.
In the "Protocol" field, select the protocol you want to use. For this example, select "FTP – File Transfer Protocol". For "Encryption", select "Use plain FTP (insecure)" if required, though "Use explicit FTP over TLS if available" is generally preferred for security. For the "Logon Type", select "Normal". Now you can go ahead and enter your cPanel (or hosting account) username and password in the "User" and "Password" fields respectively.
Next, go ahead and click on the "Transfer Settings" tab. Consider putting a checkmark in the "Limit number of simultaneous connections" box and set the maximum limit to a reasonable number, like 8, to avoid potential server issues. Click the "Connect" button. If the details are correct, you should now be connected to your server and ready to transfer files.
Usage Guide
FileZilla can look intimidating and complex at first, but it is actually very easy to use. The layout primarily consists of several panes. The left two sections show files and directories that are on your local computer (your desktop), and the right two sections show the files and directories on your remote web host service.
If we click on a directory in the top left section (local site), we can see that the panel directly below it shows the content (files and subfolders) of the directory that we clicked on. The same is true if we click on a directory in the top right section (remote site); the panel directly below it shows the content of that remote directory.
So transferring a file from your computer to your server is as simple as locating the file that you want to transfer on the left side of FileZilla and dragging that file to the directory of your choice on the right side of FileZilla (your server). Similarly, dragging files from the right side to the left side downloads them to your computer.
Testing the Connection
Step 4: Verify Functionality
Let's test to make sure it works. Suppose you have an empty website directory on your server. Create a simple text file on your local computer called `index.html` that contains the text "MY FTP IS ROCKIN". If we have configured this client correctly and are connected, refresh the remote file list if necessary by right-clicking and selecting refresh, or using the refresh button. Now, upload the `index.html` file from your local machine (left pane) to the appropriate folder on your server (right pane), often `public_html` or `www`, by dragging it over. Let's go back to our web browser and visit the website address. If the page displays "MY FTP IS ROCKIN", success! FTP is working.
Well, thank you for reading this guide. We hope you found it useful. If you did, don't forget to visit wpbasics.org for other great tutorials and resources.
